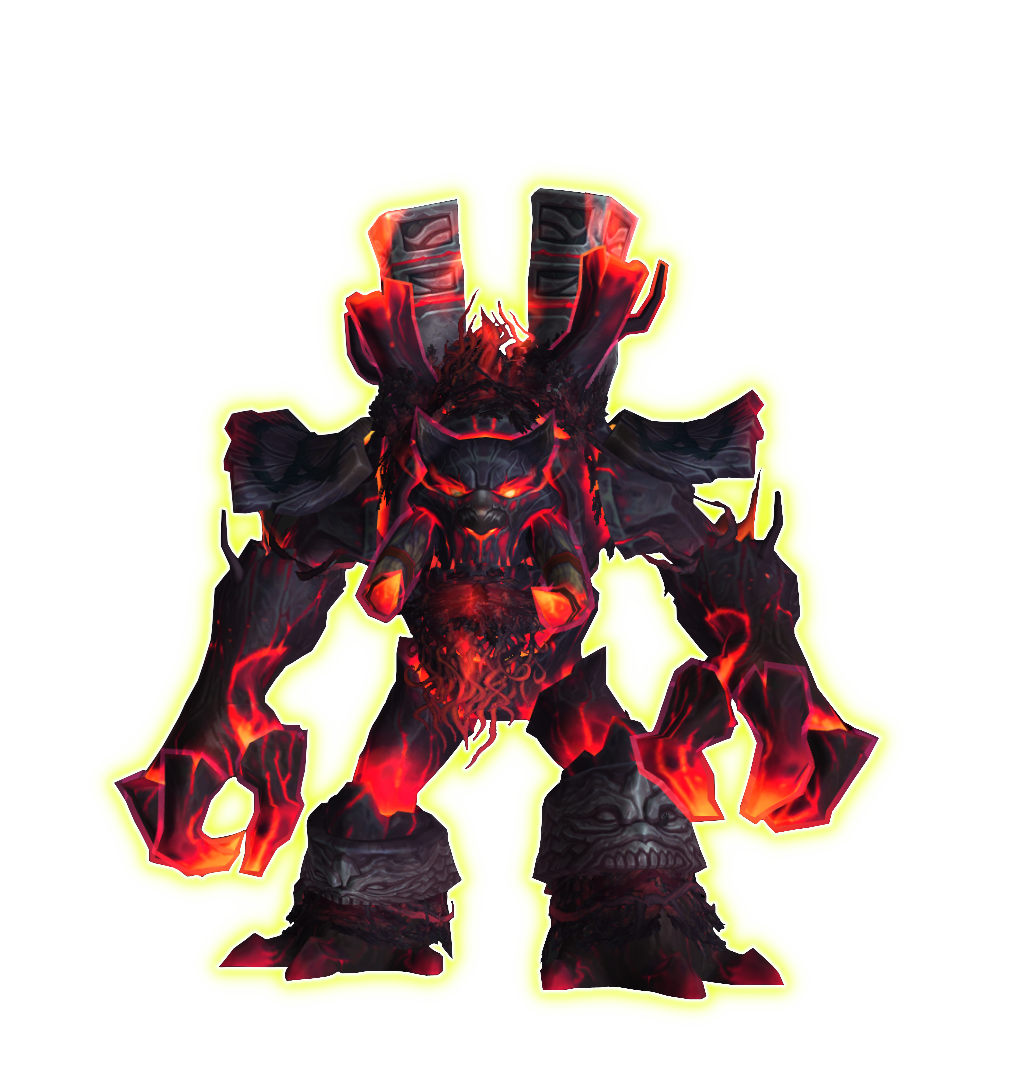
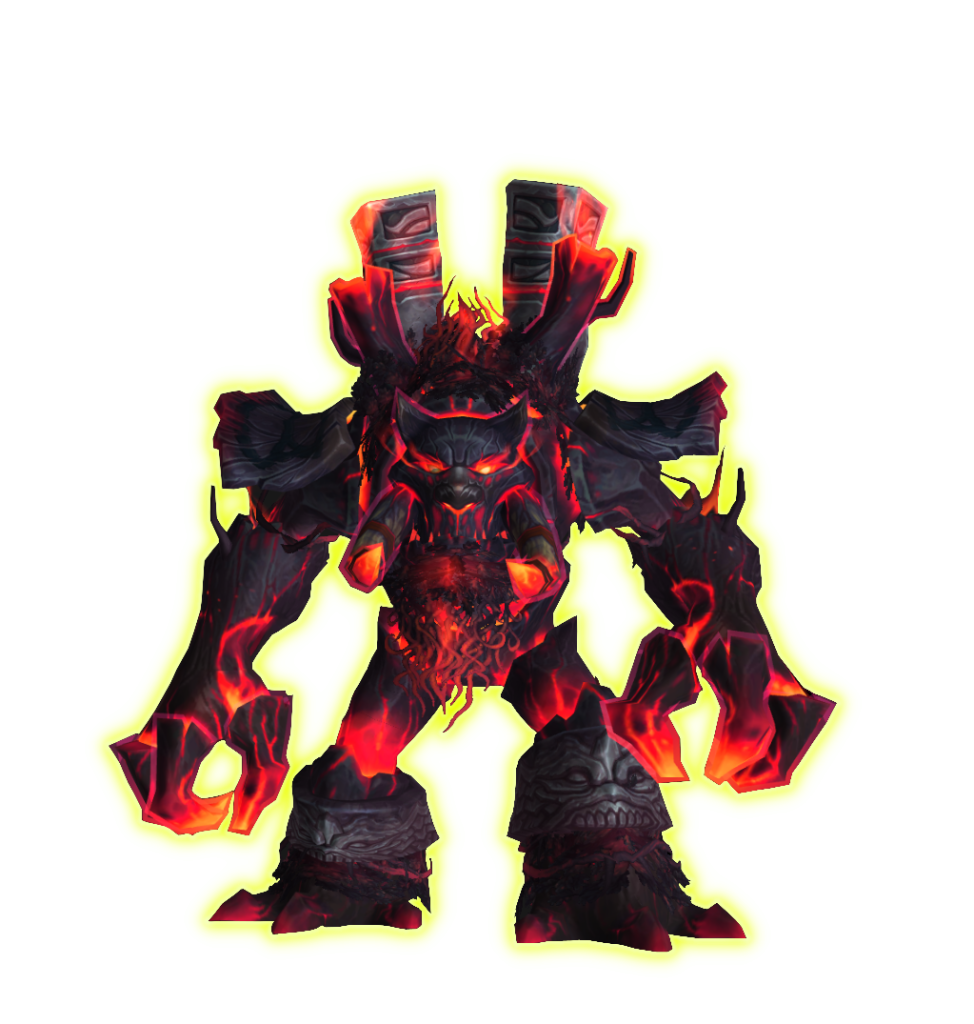
Tanks
- Tank the boss in the centre.
- Tanks should taunt after each Dreadfire Barrage.
- Use defensives when lasher adds spawn.
Healers
- Tortured Scream increases damage the raid takes.
- At the end of the intermission the raid will take increased damage as two abilities hit together.
DPS
- Kill Lasher adds quickly. If you get aggro, bring them to the tanks.
- Lashers can be interrupted/stunned/crowd controlled to reduce the damage they deal.
Main Phase
All players should start the encounter by stacking in the centre with the boss. The boss will spawn swirls in a cross pattern from his position. These spawn dormant lashers which will erupt from the ground when hit by Controlled Burn, which is a large circle he places on players twice per phase.
If you don’t hit the Lashers with Controlled Burn, they will all erupt at the start of the intermission. You don’t want this as when they erupt, they do a raid wide AOE, buff all other Lashers damage by 10% and can also shred through a tank’s defences. Players who get marked with Controlled Burn should run to the middle of each row of Dormant Lasher’s, as this will hit all Lasher’s, allowing the raid to cleave them down without too much pressure to the tanks and healers.
Throughout this phase Gnarlroot will also periodically cast Shadowflame Cleave, which is a frontal cone indicated by a purple telegraph on the floor in front of him. He often turns before casting this which can help to indicate this.
Intermission
The intermission is triggered when Gnarlroot reaches 100 energy. This causes him to take 99% reduced damage and pulse raid wide damage until the intermission ends. He will spawn large roots in four directions from him and standing on the boss will cause the player to take heavy damage.
The boss will spawn four soak zones which needs at least one player inside to avoid raid damage. Doing so will also mark the player with a DoT. More importantly this also allows the player to burn part of the roots by running into them. To end the intermission, all roots in the room need to be burnt away, so the raid needs to collectively stand in the soak puddles and then run into parts of the roots.
Once they have all been destroyed the boss will stop pulsing damage at the raid and be stunned with a debuff causing him to take 100% increased damage from all sources for 20 seconds. This is usually when the raid will cast Heroism/Bloodlust for maximum damage. Once the 20 seconds is over the main phase will start again and repeat until the boss dies.
Mythic Difficulty
On Mythic difficulty there are Tainted Treant adds to deal with. These start dormant like the Lashers and the raid need to prioritise waking these as soon as Controlled Burn is applied to players. When the Tainted Treants erupt they will deal some raid damage and then Will start to cast Blazing Pollen, which hits the five closest players causing medium damage and disorientating them for 3 seconds. This should always be interrupted.
They also cast Flaming Sap which is targeted at a single player and will splash onto any other player within 5 yards. The targeted player should run out of the group. Flaming Sap slows the player for 6 seconds and does fire medium fire damage every 2 seconds for its duration. In the intermission the boss does much heavier raid wide damage so healers should consider using cooldowns and the raid should use defensives here as needed.
Spell Glossary
Flaming Pestilence
Gnarlroot makes several rows of swirls on the ground that explode after a few second. Some of these leave behind dormant Tainted Lashers.
Tainted Lasher
These spawn when the dormant Lashers get hit by a Controlled Burn puddle. When they are active, they will use melee attacks and cast Shadow Spines. Each successful cast will cause the target to take increased damage and have reduced armour. This effect stacks.
Vicious Thicket
A stacking buff for the Tainted Lasher, which increases all their damage done by 10% for each active Lasher. If they reach 15 stacks, they become immune to crowd control and interrupts, allowing them to freely cast Shadow Spines.
Controlled Burn
Targets several players with a debuff making a large circle appear around each. After a few seconds the debuff erupts and large damaging puddles hit the floor. If these puddles hit any Tainted Lashers, they will grow from the ground and attack the raid.
Tortured Scream
Deals raid damage and applies a 10 second DoT. Generally healed without issue.
Shadowflame Cleave
Gnarlroot turns to face a random player and attack with a frontal cone after a couple of seconds. This deals heavy damage and should be moved away from.
Dreadfire Barrage
A tank ability that deals physical and magical damage to Gnarlroot’s main target and applies a debuff that increases shadowflame damage taken for 34 seconds. Tanks should swap after this.
Doom Cultivation
Causes Gnarlroot to take 99% reduced damage and spawns Doom Roots. Gnarlroot pulses AOE damage for its duration, causes Splintered Charcoal to fly from his body and makes Toxic Loam appear under him.
Doom Roots
Roots that spawn in the intermission. They cause a small amount of damage and knock players away when they spawn. Need burning by Ember-Charred affected players to end the intermission.
Splintered Charcoal
Debris that flies from Gnarlroot into telegraphed soak puddles. Players who soak this will be affected by Ember-Charred, which causes a small amount of damage and allows them to burn part of the Doom Roots away by running into them.
Toxic Loam
A puddle under Gnarlroot while he casts Doom Cultivation that causes very heavy damage to players and slows them while they stand in it.
Uprooted Agony
When all the Doom Roots have been burnt away, Gnarlroot will be stunned for 20 seconds and have increased damage taken by 100% for the duration. Often when groups will use Heroism/Bloodlust.
Rising Mania
Every time Gnarlroot is afflicted with Uprooted Agony, he will get a stacking buff increasing all damage by 10% for the rest of the encounter. This acts like a soft enrage.